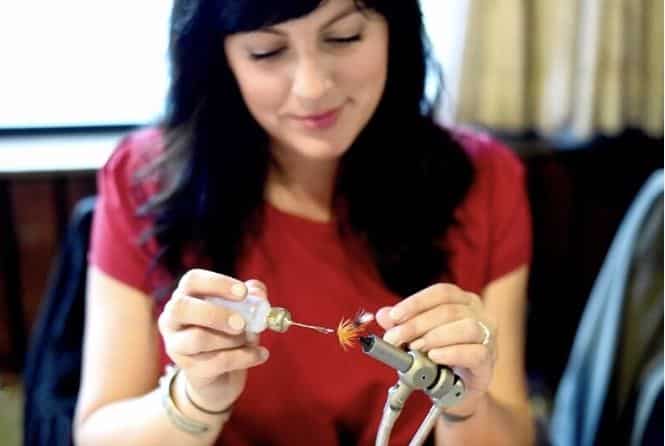
Fly tying, where you can let your creativity run wild, pairing materials to create an original pattern, match the hatch or to tie a tried and true classic. Regardless of the fly you tie, the feeling of hooking that first fish, on your own hand tied creation, will surely keep you coming back to the vise time and time again.
In past entries, we have discussed some of the essential items (vise, bobbins, scissors, whip finishers) required at your tying station. As fly tying quickly evolves and increases in popularity, the options available for tools and materials grow. To keep this article concise, we have touched on just a few of the supplementary tools that we have found to be useful additions to our fly tying arsenal.

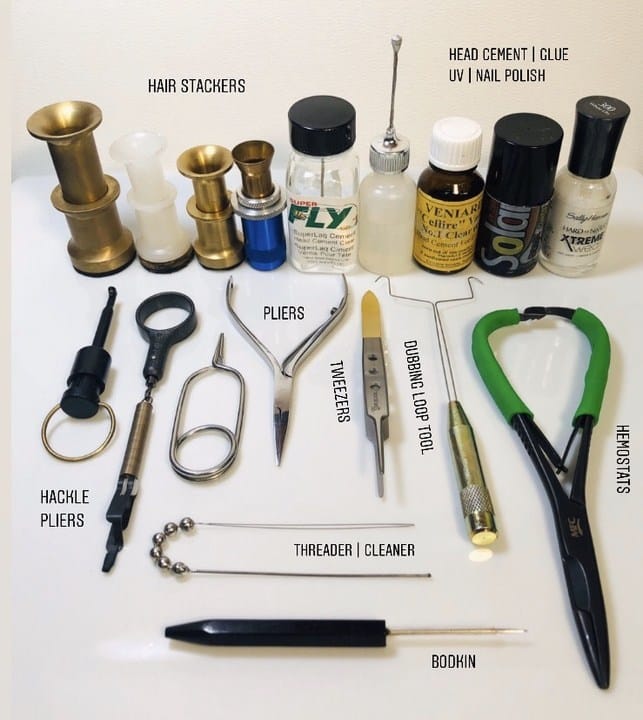
Bobbin Threader
There are a variety of techniques to thread your bobbin. When sewing, you must feed thread through the eye of the needle. Likewise, when fly tying you must feed thread through the tube of your bobbin holder. Some, like myself, may prefer the manual method. To accomplish their goal, they will moisten and feed a piece of thread (not frayed) into the bobbin by hand and use their mouth as suction to pull the thread through. It is fast, effective and requires no tools.
If wax or dirt prevents the thread from easily passing through the tube you may wish to clean the bobbin holder or utilize a bobbin threader.
These tools are inexpensive and consist of a short handle and a fine, flexible wire tip with a loop at the end. You insert the threader into your bobbin tube from the top, insert a few inches of thread through the threader’s wire loop opening and then pull it through the tube. Voila, your bobbin is threaded.
You can also make your own bobbin threaders with copper wire or mono. Simply cut a piece of either, bend in half and put pressure on it to create a pointed tip. Even dental floss threaders from your local pharmacy are also an option. You would use these the same as described in the paragraph above.

Bodkin
A bodkin is nothing more than a sturdy needle point attached to a weighted handle. It is the tool of choice for the precise application of head cement on finished flies, cleaning the eye of the hook and freeing-up tied down hackle fibres.
Some fly tiers are known to use toothpicks or acupuncture needles instead, as they are inexpensive and can be disposed of when covered in glue. Whether you choose to purchase one from your local fly shop or make a DIY version, you will be glad to have a bodkin in your fly tying kit.
Dubbing Tool
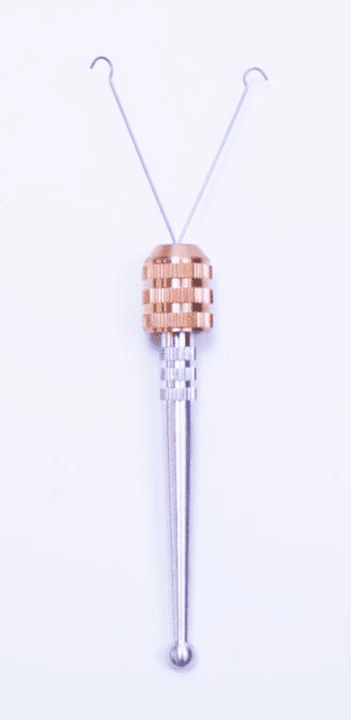
Dubbing refers to the process of attaching fur (or another fibre, natural or synthetic) to the body of a fly. Some tiers may forego the use of a tool, and simply wax their thread and manually apply a small amount of dubbing to that single strand of thread. This can be effective but you may find that you will achieve a buggier (a.k.a. more natural) look using a dubbing loop tool.
To make a dubbing or ‘spinning’ loop, you start by wrapping thread onto your hook as you do when starting any fly. Once secured, you pull approximately 6 inches of thread from the bobbin and place your finger on the thread near the tip of bobbin. You then pull another 6 inches of thread up toward the hook. You have made a loop and can now use your bobbin to secure and anchor that loop to your hook. Once complete, you will insert the dubbing loop tool into the bottom of your loop. A triangular shape is formed. You now place the material for dubbing into that loop, pull down on the tool and twist. This spinning of thread and material firmly secures your dubbing and allows for uniform distribution. You can then proceed with wrapping your ‘corded rope’ of dubbing to the hook, touching turns as you wrap along the hook shank. You may use a dubbing brush before and after this process to ensure there are no trapped fibres and to achieve a natural looking body.
Hackle Pliers
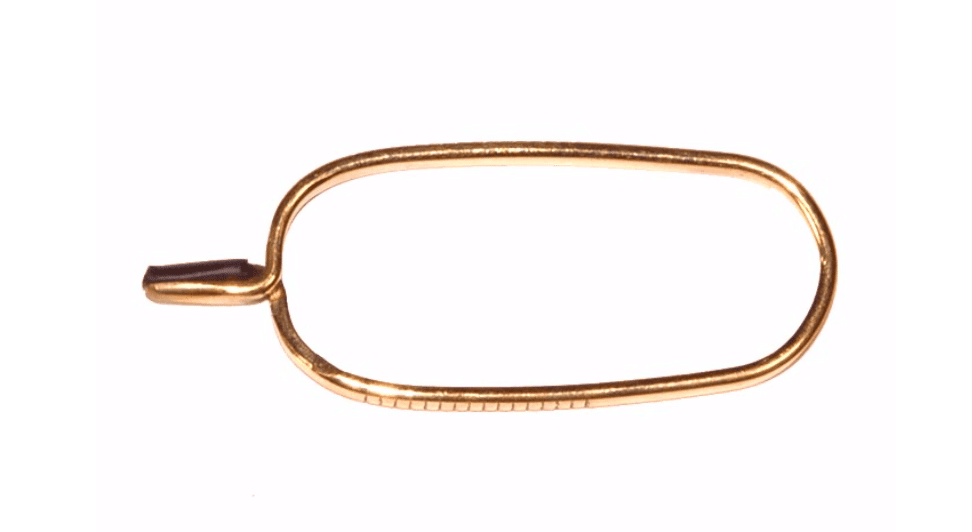
These pliers are designed for holding materials, hackles of course, but also any other material that you need to control when tying. You can use them to grasp the butt end or tip of your feather and then wrap the hackle onto the fly. If your thread breaks mid-tie, you can use hackle pliers to hold the broken thread in place, preventing it from unravelling while reattaching your thread.
You want to match your selection of plier to the size and kind of material you will be using.
When selecting a pair of pliers you have a wide variety of options to choose from. You want to match your selection of plier to the size and kind of material you will be using. Be sure to consider the type of jaw and grip, choosing one that is easy to open but that also closes firmly over your material with adequate pressure. You do not want the jaws to have sharp edges as these could damage or cut your tying materials.
Many tiers choose to not use hackle pliers as they find they have better control using their thumb and index finger, while others consider them an essential tool especially for small ties. You will get a feel for what works best for you as you experiment with each method.
Hair Stacker
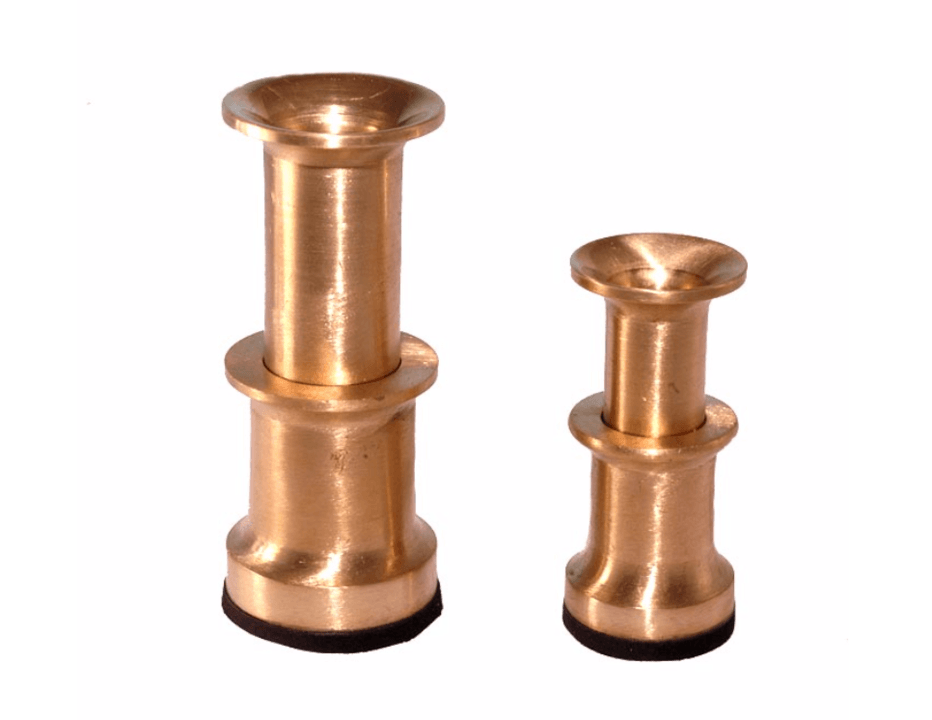
This tool is often used to prepare hair wings and tails. When you cut a clump of hair or fur, the tips are at varying lengths. Using a hair stacker will line the fibres up evenly and will allow for a full and consistent wing.
Hair stackers are manufactured in metal, plastic and wood and come in a variety of sizes. For beginner tiers, a medium size works well for most patterns. There is a metal tube or barrel that fits into a heavier base. You use the hair stacker by fitting the barrel into the base, inserting a bundle of hair with the tip of the fibres pointed down and tapping the stacker on a firm surface. You then carefully remove the barrel and you will find the tips are lined up evenly for you to pinch between your fingers and use.
Pliers, Hemostats and Tweezers – These are all multi-purpose tools for on and off the water. There are limitless options available to you in a variety of sizes and price points.
Hemostats and Pliers
Hemostats and pliers may be used to pinch the barb of your hook if you are not tying on barbless hooks. You may find that it’s a good habit to do this quickly at your tying station as opposed to when you’re on the river.
Tweezers
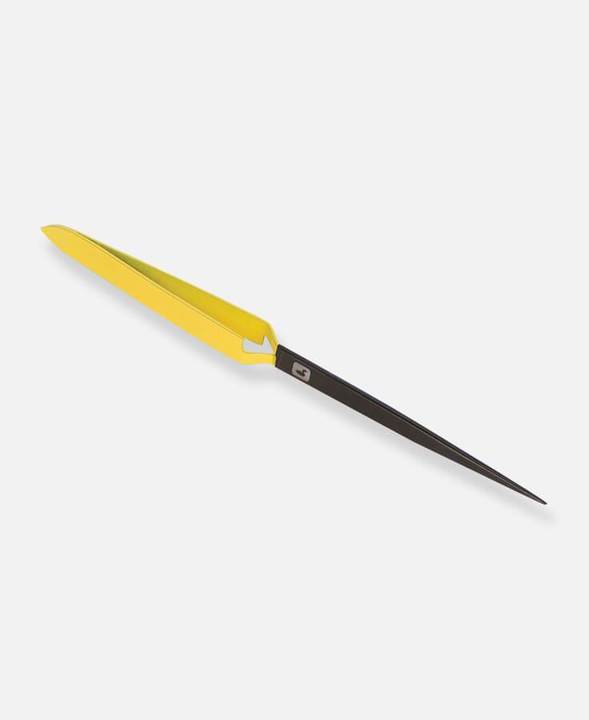
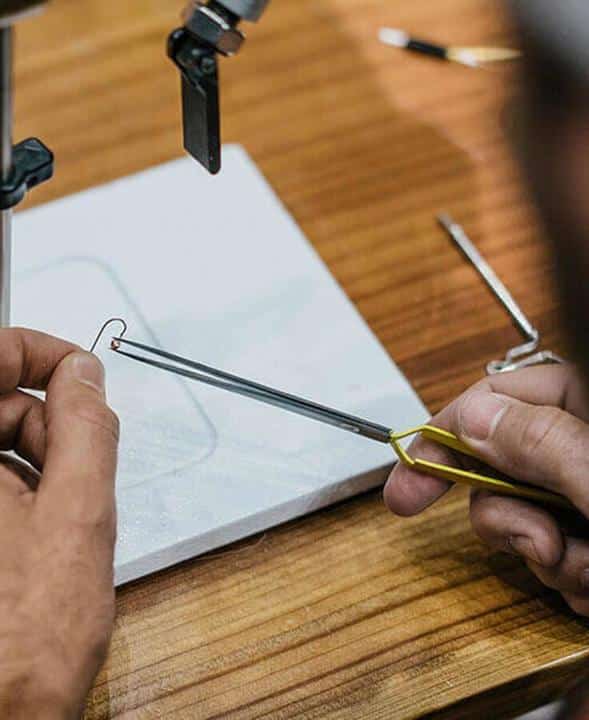
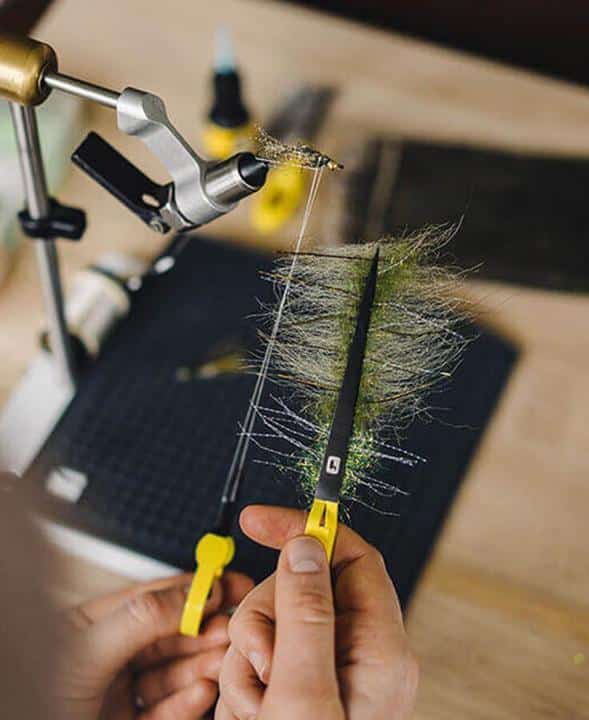
Tweezers can be used to strip excess hackle from a feather and to pluck fibres from your hackle before tying in a wing to ensure the ideal placement. On the water, hemostats are most commonly used to remove hooks quickly from fish. Some include a feature that allows them to also be used to cut leaders and/or tippet.
Nail Polish and/or Head Cement
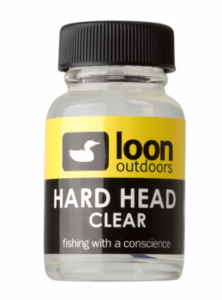
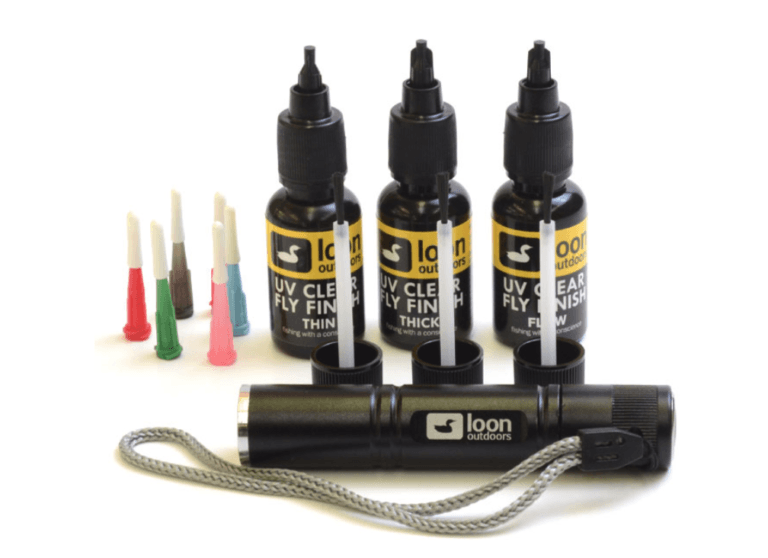
When you complete a fly it is recommended to apply a lacquer/glue to the head to make the fly more durable. This can also be used for aesthetic purposes. Every fly tier has their preferred product and it may vary depending on the fly being tied. Head cement and nail polish can be used and come in a variety of colours. Ultraviolet (UV) resins are becoming a popular alternative to the traditional head cement.
Remember to avoid gluing feathers, fur or hair as they will become stiff and brittle.
For a more precise application, you can apply glue with a micro artist brush, a bodkin (as mentioned above) or a small applicator bottle. Be frugal in your application as you can always add more glue after the first layer dries. It is best to avoid touching the head while the glue is dying as this will prevent a cloudy finished product.
Using the above-noted tools in conjunction with the others we have featured in our recent blogs, will ensure your fly tying station is fully equipped and ready for you to spin up some magic. HAPPY TYING!!!
Connect with Deirdre Green
Deirdre Green lives in Nova Scotia. She and her Fiancé, Derek Whiteway, spend all their free time on the water pursuing native brook trout and Atlantic Salmon. They are passionate about our catch and release fishery and protecting our river systems. Deirdre first began fly fishing in 2015 and has made strong relationships within the angling community since. She is a featured author and blog contributor who actively encourages other would-be anglers to give the sport a try. In the off-season, her obsession with fishing spills over into her other hobbies. Deirdre ties all of her own flies, a skill taught to her by lifelong tier, Derek. Their love of fly fishing and local angling community is apparent as they volunteer and eagerly seek out opportunities to share this exciting lifestyle with others.


