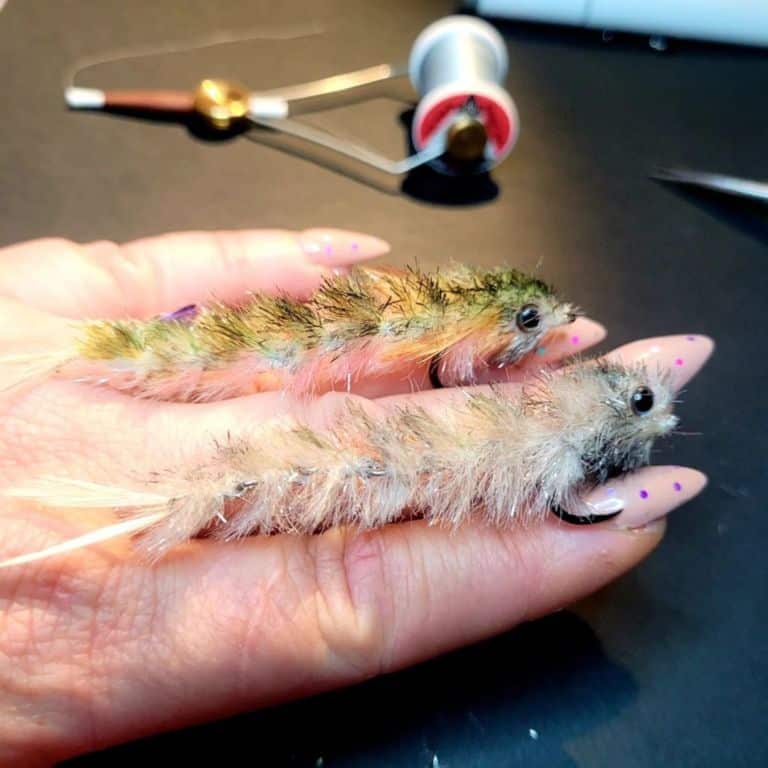
I started my fly fishing journey 15+ years ago and fly-tying came with it. You know that feeling when you trick a fish with the fly you tied the night before….. Yeah that is priceless.
Which vise do you start with? When you are new to fly tying you don’t have to have the greatest and latest, BUT do not cheap out on your vise if you plan to use it more that once or twice a year. Having a cheap quality vise will make your tying more difficult and not enjoyable.
Do not cheap out on your vise if you are planning to use it more than once or twice a year.
3 Key Points to Consider
It’s not as simple as it looks. There are multiple vises available: Stationery, Rotary, or Turning vise, C-clamp or pedestal base. Price ranges from $20 to much higher. I like to keep it simple for my beginner fly-tying students.
There a few key point you need to consider before you purchase your first vise.
- How often will you be using it?
- What kind of flies will you be tying most?
- Think size of flies will you be tying?
- What is your budget?
Stationary Vise
As the name implies, the stationary vise, holds the hook in a stationary position . There’s no turning.
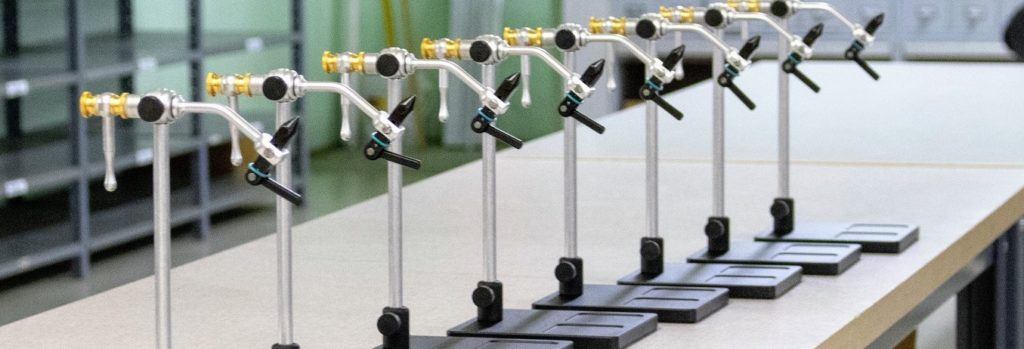
Rotary Fly Tying Vise
This rotary vise let’s the hook turn 360 using a lever or just twisting the vise jaw. Having the hook/jaw turn will speed up tying. This is especially true when using hackle. I define a rotary vise this way because other tying vises turn but don’t turn in a way that helps apply hackle and other wraps. Additionally, the hook shank is usually centered on the spindle of the vise head rotation.
I recommend getting a rotary vise especially if you planning to tie size 14 and smaller dry flies.
Turning Vise
Many production tyers don’t like the rotary function and just want to turn the fly for inspection. Production tyers have developed the skills of applying even pressure all the way around the hook. Regal tying vises are the perfect example. The fly is held via a spring clamp and the clamp/fly will turn, but this turning is mostly to inspect the fly. The benefit of the spring clamp is super- fast hook changes. It also supports small and large hooks well. It’s a great over all vise.
My first ever vise was a knock off of a Regal vice. I still have it and use it only when I tie large flies.
C-Clamp
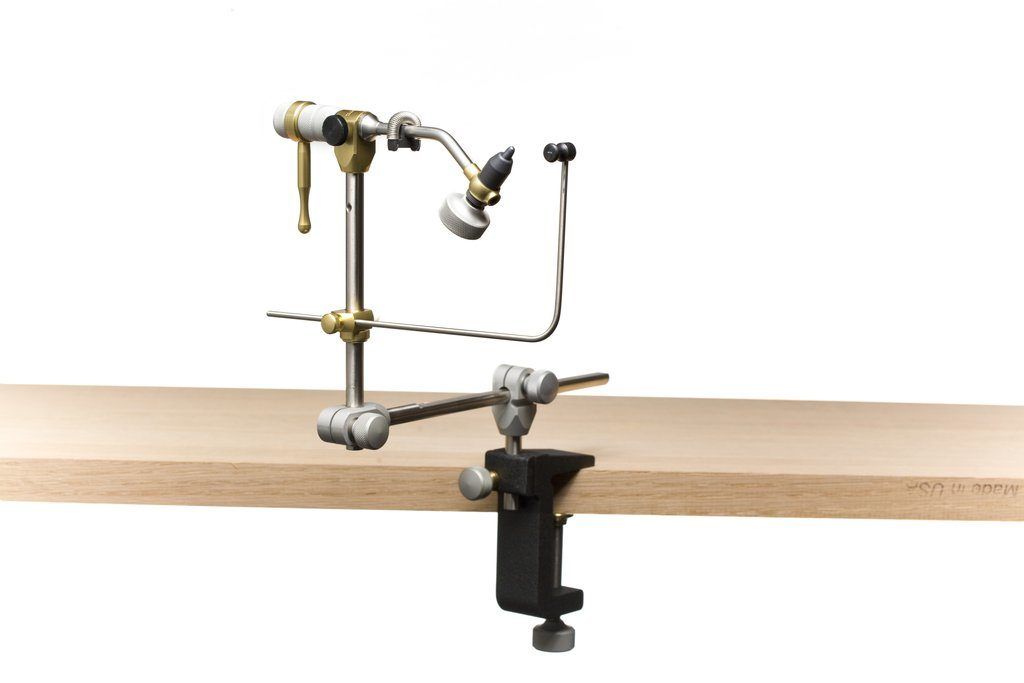
Most tying vises comes with a C-Clamp, but you can also buy a pedestal base for it.
I prefer using a C-Clamp whenever I can. A C-Clamp will secure your vice to the edge of a table and keep your vise secure and stable. Please note the clamps can leave a nasty mark so if you using a nice table place a piece of cardboard under your clamps.
Pedestal
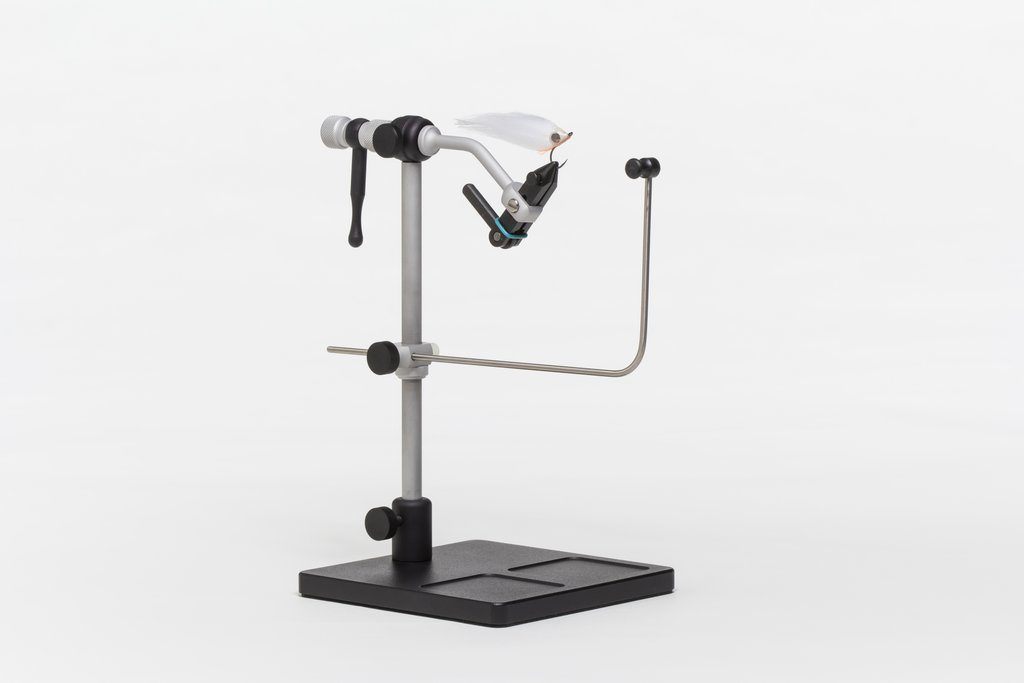
The base of a pedestal vise is placed on top of the table or any other tying surface.
They are not as stable as a C-Clamp, but they are great for travelling as you can set up your vise anywhere. (Camping, on the riverbank, in your car). Please don’t drive and tie!!
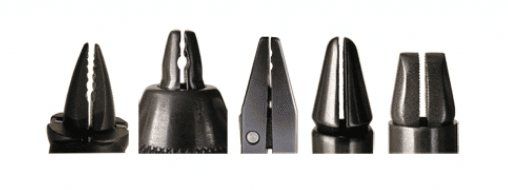
There are essentially two types of jaws used in vises today: collet and lever-type (also called parallel clamp).
Collect Vises - One-Piece Jaws
Collet employ one-piece jaws, which are in the open position, like a pair of tweezers. The jaws are closed by either pulling or pushing them into a ring, called a collet. This is generally accomplished by a lever and cam located at the rear of the vise barrel. Some vises also use a push-collet design, but with these vises the jaws are closed and opened by turning a large knob located at the back of the jaws.
Level-Type Jaws
Lever-Type jaws such as those found on Regal vises operate like a wooden clothespin, requiring two-piece jaws, a fulcrum, and a mechanism to close the jaws. Either a thumbscrew or a cam lever is used to close the jaws by separating the “tails” of the jaws.
Jaw Design
A major challenge for vise designers is how to hold larger hooks securely. For small hooks, the designer has a different concern. This concern is how to provide the best access to the hook once it is mounted in the jaws. In contemporary vises there are three approaches to holding larger hooks: ramp up the pressure; machine serrations into the faces of the jaws; or integrate one or more hook pockets.
Personally I use mostly larger hooks, size 4 and down and I prefer smooth or fine serrations jaw design. Perhaps the best all-round design is a finely marbled tip to hold small hooks securely, and one or two hook pockets to handle the larger sizes.
Some higher quality vices has changeable jaws.
Bottom Line
- If you are only planning to tie once or twice a year, a smaller vice in the $20-$40 range will do the job.
- BUT if you planning to tie your own flies then I highly recommend you don’t cheap out on your vise .
- You don’t have to have a $400 vise, to start tying, but a good quality rotary vise can be purchased between $100-$200. Believe me you want to have the ROTARY vise if you tie smaller flies. You can thank me later.
- I always tell my student to go and shop local. Support your local small businesses. Sure nice to do easy and fast online shopping, but you’ll never receive the support and knowledge what your local fly shop has.


